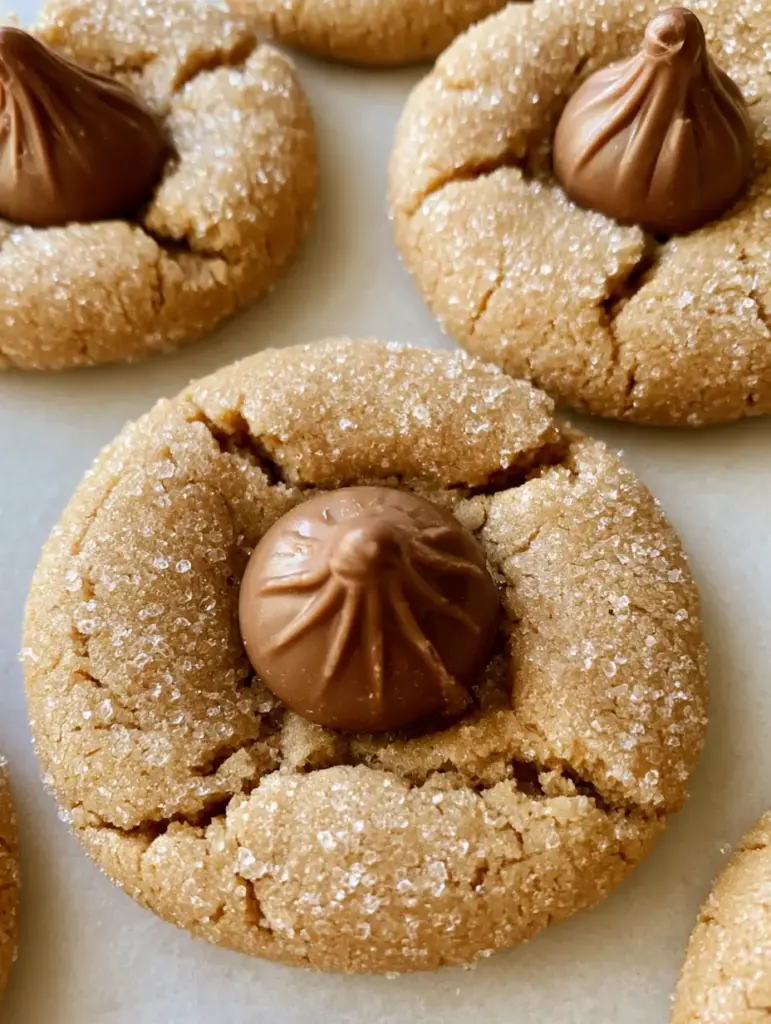
Peanut Butter Blossoms are the quintessential American cookie, beloved for their iconic combination of salty-sweet peanut butter and rich milk chocolate. These classic treats are easily recognized by their thick, circular peanut butter cookie base and the signature milk chocolate kiss pressed right into the center. Whether you are baking for a holiday cookie exchange or just craving a nostalgic snack, this recipe delivers the perfect soft cracked cookie edges and sparkling granulated sugar coating every single time.
There is something magical about the way a warm cookie interacts with a solid chocolate candy. The base remains tender and chewy, while the chocolate softens just enough to become fudgy without losing its shape. If you love this flavor profile, you should also check out our no-bake Reese’s peanut butter cup dessert (coming soon) for a cooler take on this legendary duo.
Why These Classic Peanut Butter Blossoms Stand Out
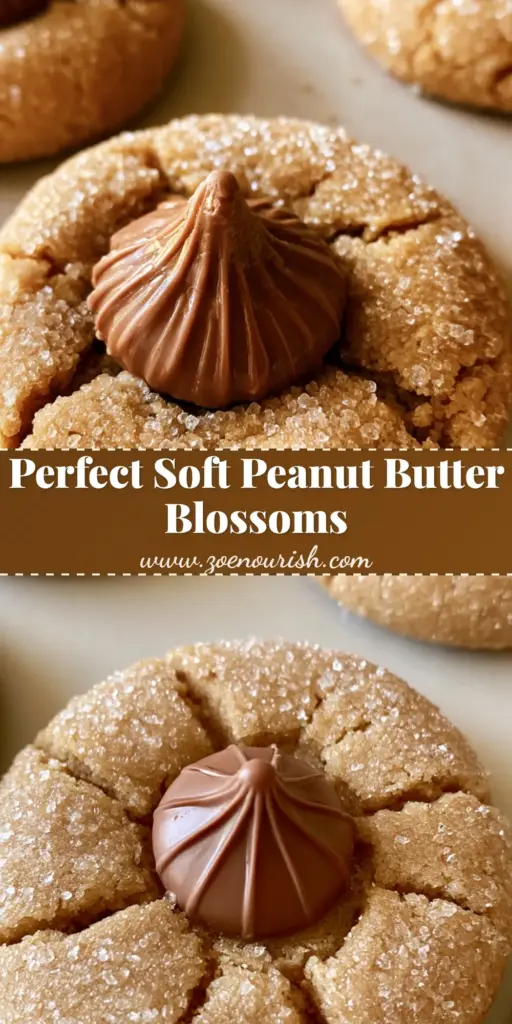
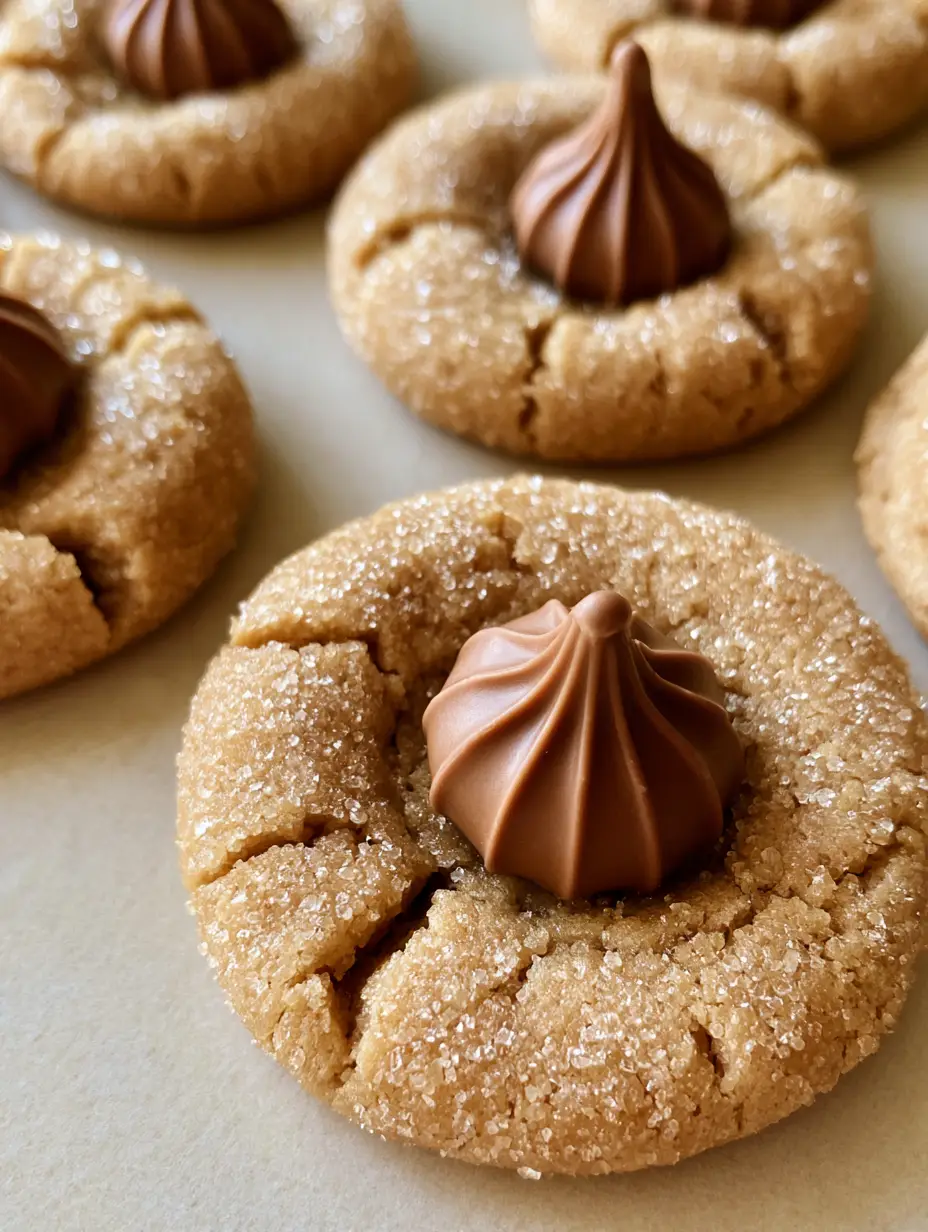
- Perfect Visual Texture: These cookies feature a golden-brown texture with beautiful radial cracks that form the moment you press the chocolate into the center.
- The Ultimate Sugar Crunch: Each cookie ball is rolled in granulated sugar crystals, providing a sweet crunch that contrasts the soft, buttery interior.
- Scientifically Balanced: We use a specific ratio of brown sugar to granulated sugar to ensure the cookies stay soft for days, much like our brown butter chocolate chip cookies.
- No-Fail Structure: The dough is sturdy enough to hold the weight of the chocolate kiss without flattening out into a pancake.
The Secret Ingredients for Success
To achieve that thick peanut butter cookie base, every ingredient serves a specific culinary purpose. We don’t just want flavor; we want the structural integrity that creates those characteristic radial cracks.
Creamy Peanut Butter: Use a standard commercial brand (like Jif or Skippy) rather than natural oil-separating varieties. You need 1 cup (250g) to provide the fat and protein structure required for a soft cracked cookie.
Unsalted Butter: 1/2 cup (115g) of softened butter adds that rich, melt-in-your-mouth quality. Ensure it is room temperature so it creams perfectly with the sugars.
Granulated & Brown Sugar: We use 1/2 cup (100g) of each. The white sugar helps with the sparkling sugar coating and crisp edges, while the brown sugar provides moisture and chewiness.
All-Purpose Flour: 1 ½ cups (190g) of flour provides the skeleton of the cookie. Be careful not to over-measure, or the cookies will become crumbly rather than soft.
Milk Chocolate Kisses: You will need approximately 36-40 solid milk chocolate candies. For the best look, ensure they are unwrapped and ready to go before the cookies leave the oven.
If you enjoy hearty, comforting textures, you might also like our apple zucchini bread for your morning routine.
Step-By-Step Instructions for Perfect Peanut Butter Blossoms
1. Creaming for Volume
In a large bowl or stand mixer, beat the softened butter, 1/2 cup (100g) granulated sugar, and 1/2 cup (100g) packed brown sugar. Cream them together for at least 3 minutes until the mixture is pale and fluffy. This aeration is what prevents a heavy, dense cookie.
Add the egg and 1 teaspoon (5ml) of vanilla extract. Beat again until fully incorporated. Finally, fold in the 1 cup (250g) of creamy peanut butter. The dough should look smooth and smell intensely nutty.
2. Mixing the Dry Ingredients
Whisk together the flour, 1 teaspoon (5g) baking soda, and 1/2 teaspoon (3g) salt. Gradually add this to the wet ingredients. Do not overmix. Stop as soon as the last streak of flour disappears to keep the soft cracked cookie edges tender.
3. Rolling and Coating
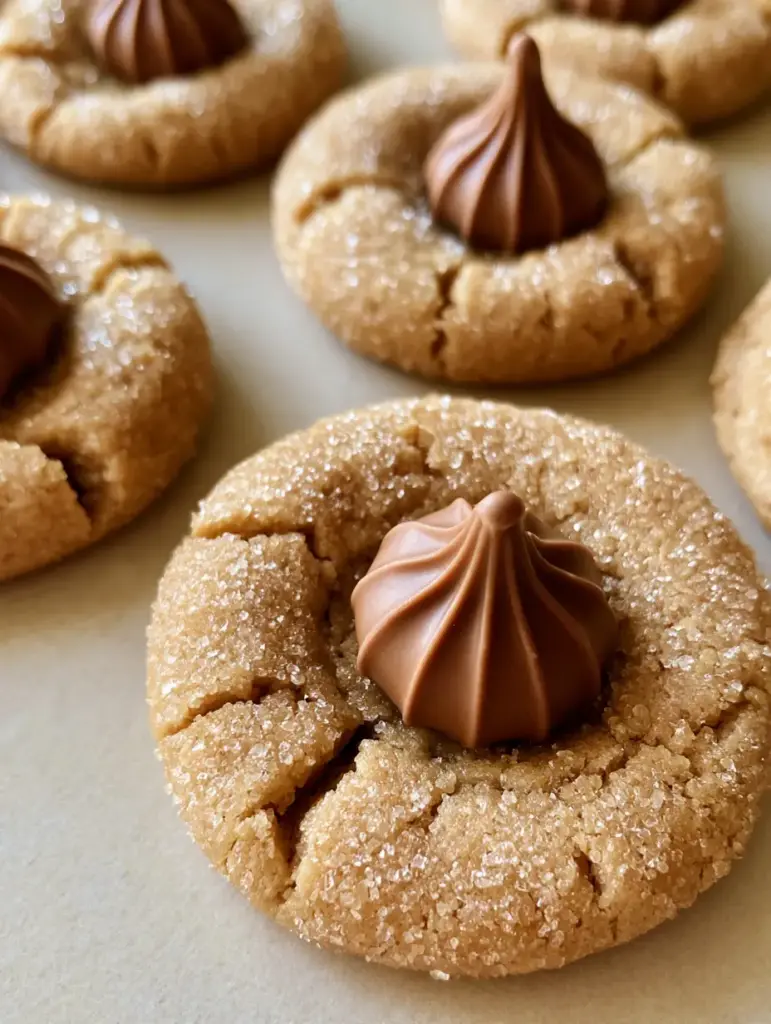
Scoop about 1 tablespoon (15ml) of dough and roll it between your palms to form a thick, circular ball, roughly 1 inch in diameter. Roll the ball in a small bowl of extra granulated sugar crystals until completely coated. This coating creates the sparkling crystalline texture seen in professional food photography.
4. The Golden-Brown Bake
Place the balls 2 inches apart on a parchment-lined baking sheet. Bake at 375°F (190°C) for 8 to 10 minutes. Visual Cue: Look for the edges to be just set and the bottoms to be a very light golden-brown. The cookies will look slightly puffed.
5. The Signature Press
Immediately upon removing the tray from the oven, firmly press a milk chocolate kiss into the center of each cookie. This pressure will cause the edges to yield, creating those characteristic radial cracks. This is the hallmark of a true Peanut Butter Blossom.
Allow the cookies to cool on the baking sheet for 5 minutes before moving them to a wire rack. The residual heat will slightly melt the base of the chocolate, “gluing” it to the cookie.
Expert Tips for the Best Results
- Chill the Chocolate: If your kitchen is warm, pop the unwrapped chocolate kisses in the freezer for 15 minutes before pressing them. This prevents them from melting into a puddle when they hit the hot cookie.
- Uniform Sizing: Use a small cookie scoop to ensure every peanut butter cookie base is the same size. This ensures even baking across the tray.
- Don’t Overbake: The cookies should look slightly underdone when you pull them out. They will firm up as they cool, maintaining that soft cracked texture.
- Freshness Matters: Ensure your baking soda is fresh. If it’s expired, your cookies won’t puff, and you won’t get those beautiful cracks.
Looking for a savory dinner before these sweets? Try our sheet pan sausage and potatoes for an easy cleanup evening.
How to Store and Freeze Peanut Butter Blossoms
Room Temperature: Once the chocolate has fully re-set (this can take a few hours), store the cookies in an airtight container for up to 5 days. Do not stack them until the chocolate is completely firm.
Freezing: These cookies freeze beautifully! Place the finished cookies in a single layer on a tray and freeze until solid. Transfer to a freezer bag for up to 3 months. Thaw at room temperature before serving.
Make-Ahead Dough: You can roll the dough into balls (before the sugar coating) and freeze the dough balls. When ready to bake, thaw for 30 minutes, roll in sugar, and bake as directed.
What to Serve With These Cookies
These cookies are rich and sweet, making them the perfect partner for a cold glass of milk or a hot cup of coffee. If you are serving these as part of a larger party spread, they pair excellently with savory snacks like our creamy feta and green olive dip to balance the sugar.
For a holiday dessert table, consider adding a variety of textures by including pumpkin pie dump cake or even some mini pepperoni pizzas for the kids to snack on while the cookies cool.
Frequently Asked Questions
It is not recommended. Natural peanut butter often separates, leading to greasy cookies that spread too much. For the classic thick circular base, use a processed creamy peanut butter like Jif or Skippy.
While not strictly necessary for the structure, the granulated sugar coating provides the signature sparkling texture and a light crunch that balances the soft peanut butter base.
To keep the kiss from melting into a puddle, unwrap the chocolates and freeze them for 15-20 minutes before baking the cookies. Press them in immediately after the cookies come out of the oven.
Cracks occur when the dough is slightly dry on the surface but soft inside. If your cookies didn’t crack, you may have over-mixed the dough or the oven temperature was too low, preventing the edges from setting quickly enough.
The Ultimate Peanut Butter Blossoms Recipe
Peanut Butter Blossoms: The Best Soft and Chewy Recipe
Ingredients
Equipment
Method
- Beat the softened butter, 1/2 cup granulated sugar, and brown sugar in a large bowl until light and fluffy, about 3 minutes.
- Mix in the egg, vanilla extract, and creamy peanut butter until smooth.
- Whisk together flour, baking soda, and salt. Gradually add to the wet mixture until just combined.
- Shape dough into 1-inch balls and roll in granulated sugar to coat.
- Place on a lined baking sheet and bake at 375°F (190°C) for 8-10 minutes until edges are set.
- Remove from oven and immediately press a chocolate kiss into the center of each cookie to create cracks.
Notes
Tip 2. Do not overbake; the cookies will firm up as they cool.
Share Your Bake & Save for Later!
We want to see your Peanut Butter Blossoms! Did you get those perfect radial cracks? Take a photo and share it in the comments below. If you loved this recipe, please give it a 5-star rating in the recipe card above.
Don’t forget to Pin this recipe to your Dessert Board on Pinterest so you never lose it! Follow zoe_nourish for more kitchen-tested, Pinterest-viral recipes every week.