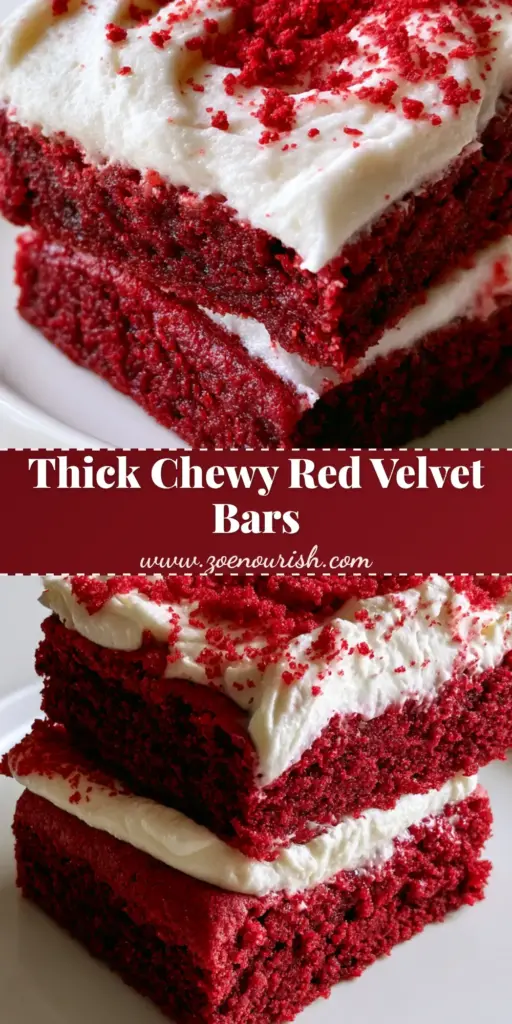
Red Velvet Cookie Bars are the ultimate show-stopping dessert that combines the classic, tangy flavor of red velvet cake with the dense, satisfying chew of a premium sugar cookie. If you have been searching for a treat that looks as professional as a bakery window display but is simple enough to whip up in your own kitchen, these Red Velvet Cookie Bars are your answer. The vibrant deep-red base provides a stunning contrast against the bright white whipped cream cheese frosting, making them a viral-worthy addition to any dessert table.
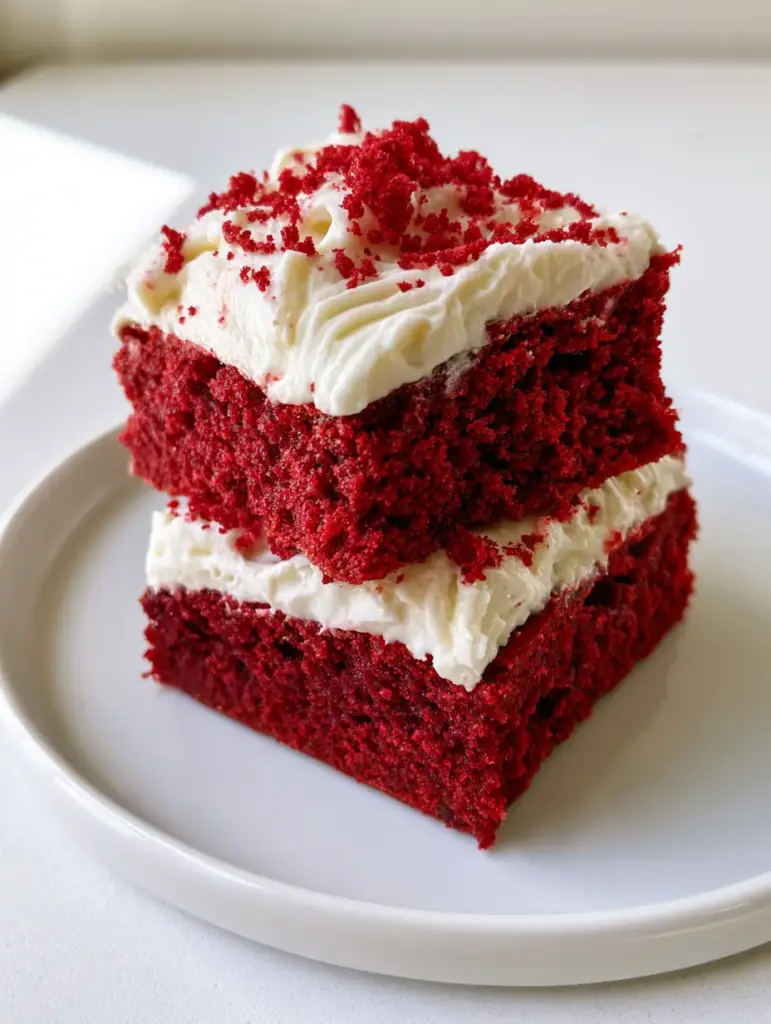
Why You Will Fall in Love With These Red Velvet Cookie Bars
- Unmatched Texture: A thick, dense, and vibrant deep-red cookie base that delivers a soft, moist, sugar-cookie crumb in every bite.
- Tangy & Sweet Balance: The generous layer of bright white cream cheese frosting cuts through the richness of the cocoa-infused base perfectly.
- Visual Masterpiece: Featuring decorative frosting swirls and a fine red cookie crumb garnish, these bars are designed for maximum Pinterest appeal.
- Crowd-Pleasing Simplicity: Easier than rolling individual cookies, these bars are sliced into perfect rectangles for effortless serving.
Whether you are preparing a spread of festive holiday treats or just looking for a decadent weekend bake, these Red Velvet Cookie Bars offer a level of sophistication that few other bar recipes can match. The key lies in the scientific balance of cocoa powder, acidity, and high-quality fats to create that signature velvet mouthfeel.
Essential Ingredients for the Perfect Red Velvet Base
Creating the perfect Red Velvet Cookie Bars requires more than just food coloring; it requires a specific harmony of ingredients to achieve the right crumb and color.
Unsalted Butter (1 cup / 226g): Softened to room temperature, this provides the necessary fat for a tender, melt-in-your-mouth crumb. It carries the cocoa and vanilla flavors throughout the dough.
Granulated Sugar (1.5 cups / 300g): This creates the classic sugar-cookie sweetness and helps achieve those slightly crisp edges while keeping the center dense and chewy.
Large Eggs (2): These act as the binder, providing structure to the Red Velvet Cookie Bars so they don’t crumble when sliced into rectangles.
Unsweetened Cocoa Powder (2 tbsp / 14g): Essential for the “velvet” flavor profile. It provides a hint of chocolate without overpowering the vanilla and cream cheese notes.
Red Food Coloring (1 tbsp / 15ml): To achieve that vibrant deep-red cookie base, a high-quality gel or liquid coloring is necessary. It transforms the dough into a stunning visual centerpiece.
White Vinegar (1 tsp / 5ml): A traditional red velvet component that reacts with the leavening agents to ensure a soft texture and brighten the red hue.
All-Purpose Flour (2.5 cups / 312g): The foundation of our dense chewy crumb. Be sure to measure correctly to avoid a dry or cakey bar.
Secrets to the Bright White Whipped Cream Cheese Frosting
The frosting is not just a topping; it is a critical component of the Red Velvet Cookie Bars experience. To get those visible swirls and ridges seen in professional photography, the frosting must be thick yet airy.
Full-Fat Cream Cheese (8 oz / 226g): Always use the brick style, not the spreadable tub variety. This ensures the frosting holds its decorative swirls without weeping or melting.
Powdered Sugar (3-4 cups / 360-480g): This provides sweetness and stability. Adjust the amount to reach your desired piping consistency for those beautiful ridges.
Vanilla Extract (1 tsp / 5ml): Adds depth to the frosting, complementing the cocoa in the base. If you want a variety of flavors for your next party, consider pairing these with an impossible lemon pie for a citrusy contrast.
Step-by-Step Guide to Baking Red Velvet Cookie Bars
1. Preparing the Vibrant Cookie Dough
Start by creaming your softened butter and granulated sugar in a large bowl. You want the mixture to be pale and fluffy, which usually takes about 2-3 minutes of high-speed mixing. Add the eggs one at a time, followed by the vanilla, vinegar, and that crucial red food coloring. Visual Cue: The batter should be a uniform, vibrant deep-red before you proceed to the dry ingredients.
2. Folding in the Dry Ingredients
Sift together your flour, cocoa powder, baking soda, and salt. Gradually add this to the wet mixture on low speed. Culinary Science: Do not overmix! Overworking the dough develops gluten, which will turn your dense chewy crumb into a tough, bread-like texture. Stop as soon as no white streaks of flour remain.
3. The Perfect Bake
Press the dough into a parchment-lined 9×13 inch (23×33 cm) pan. Smooth the top with a spatula to ensure even thickness. Bake at 350°F (175°C) for 20-25 minutes. Sensory Cue: The edges should be set, but the center should still look slightly soft. Overbaking will dull the red color and dry out the sugar-cookie crumb.
4. Creating Decorative Frosting Swirls
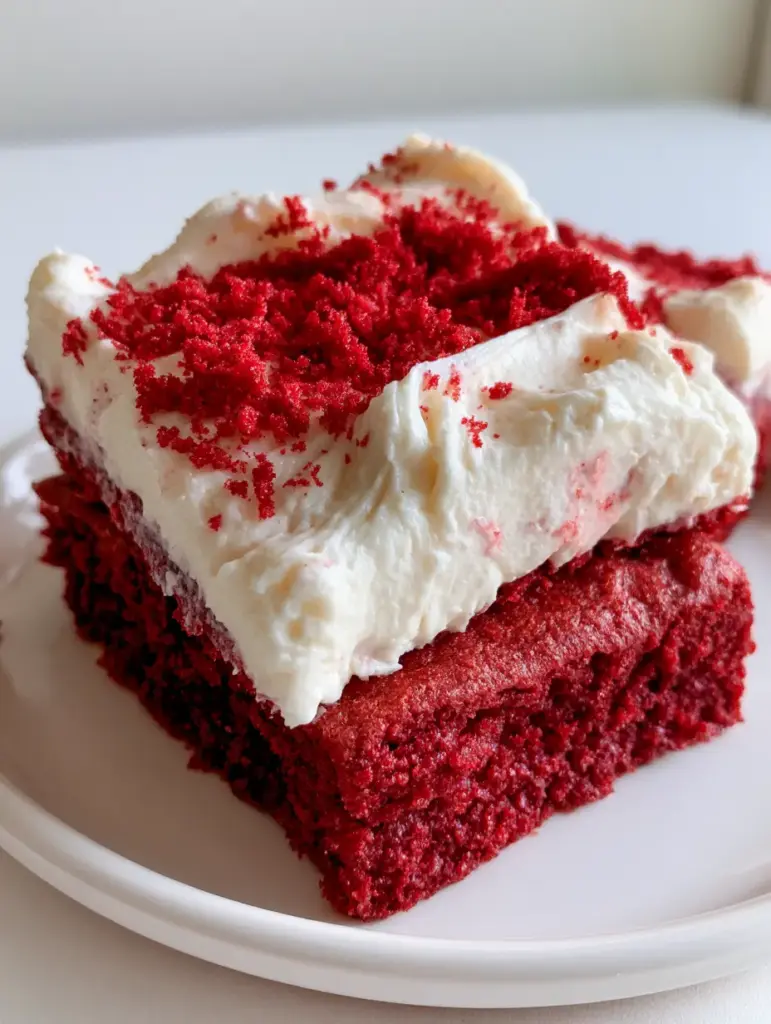
Once the Red Velvet Cookie Bars are completely cool, whip your cream cheese and butter until smooth. Gradually add powdered sugar until it is stiff enough to hold a peak. Spread a thick, generous layer over the bars, using the back of a spoon or an offset spatula to create visible swirls and ridges that catch the light.
5. The Signature Garnish
Before slicing, take a small piece of the cooked cookie edge (or a spare scrap) and crumble it into fine, bright red cookie crumbs. Lightly scatter these over the white frosting. This small detail bridges the visual gap and signals the flavor profile to anyone looking at the dish.
Expert Tips for Bakery-Style Results
- Room Temperature Ingredients: Ensure your butter and cream cheese are truly softened. This prevents lumps in your frosting and ensures the cookie base has a uniform, soft texture.
- The Parchment Sling: Always leave an overhang of parchment paper. This allows you to lift the entire block of Red Velvet Cookie Bars out of the pan for clean, rectangular cuts.
- Clean Slicing Technique: For those perfect rectangular bars seen in our photos, wipe your knife clean with a warm, damp cloth between every single cut. This prevents the white frosting from smearing into the red base.
- Color Protection: If your bars are browning too much on top, tent them loosely with foil during the last 5 minutes of baking to preserve the vibrant red hue.
If you enjoy the process of creating visually stunning meals, you might also love exploring savory options like our Philly cheesesteak pasta for a comforting weeknight dinner before diving into these sweet treats.
How to Store and Freeze Your Bars
Because of the cream cheese frosting, these Red Velvet Cookie Bars should be stored in the refrigerator. Place them in an airtight container with layers separated by parchment paper. They will remain fresh and moist for up to 5 days.
To Freeze: You can freeze the unfrosted cookie base for up to 3 months. If freezing frosted bars, flash-freeze them on a tray for an hour until the frosting is firm, then wrap tightly in plastic wrap and foil. Thaw in the refrigerator overnight before serving.
What to Serve With Red Velvet Cookie Bars
These bars are incredibly rich, so they pair best with beverages that cleanse the palate. A cold glass of milk is the traditional choice, but a bitter espresso or a tart hibiscus tea also works beautifully to balance the sweetness. For a full dessert spread, try serving these alongside a savory side at your next brunch to provide a complex flavor profile for your guests.
Frequently Asked Questions
Yes! You can bake the red velvet base up to 2 days in advance. Keep it tightly wrapped at room temperature, then frost and garnish with the cookie crumbs just before serving for the best texture.
You can, but the color may not be as vibrant. Beet powder or natural liquid dyes often turn a brownish hue when exposed to the heat and pH levels of baking. For that ‘vibrant deep-red’ look, gel coloring is recommended.
Chill the frosted bars in the refrigerator for at least 1 hour first. Use a large, sharp knife dipped in hot water and wiped dry between every single cut to prevent the frosting from dragging.
This usually happens due to overbaking or using too much cocoa powder. The cocoa can darken the dough, and the sugars will caramelize (brown) if left in the oven too long. Ensure you bake just until the edges are set.
The Ultimate Red Velvet Cookie Bars Recipe
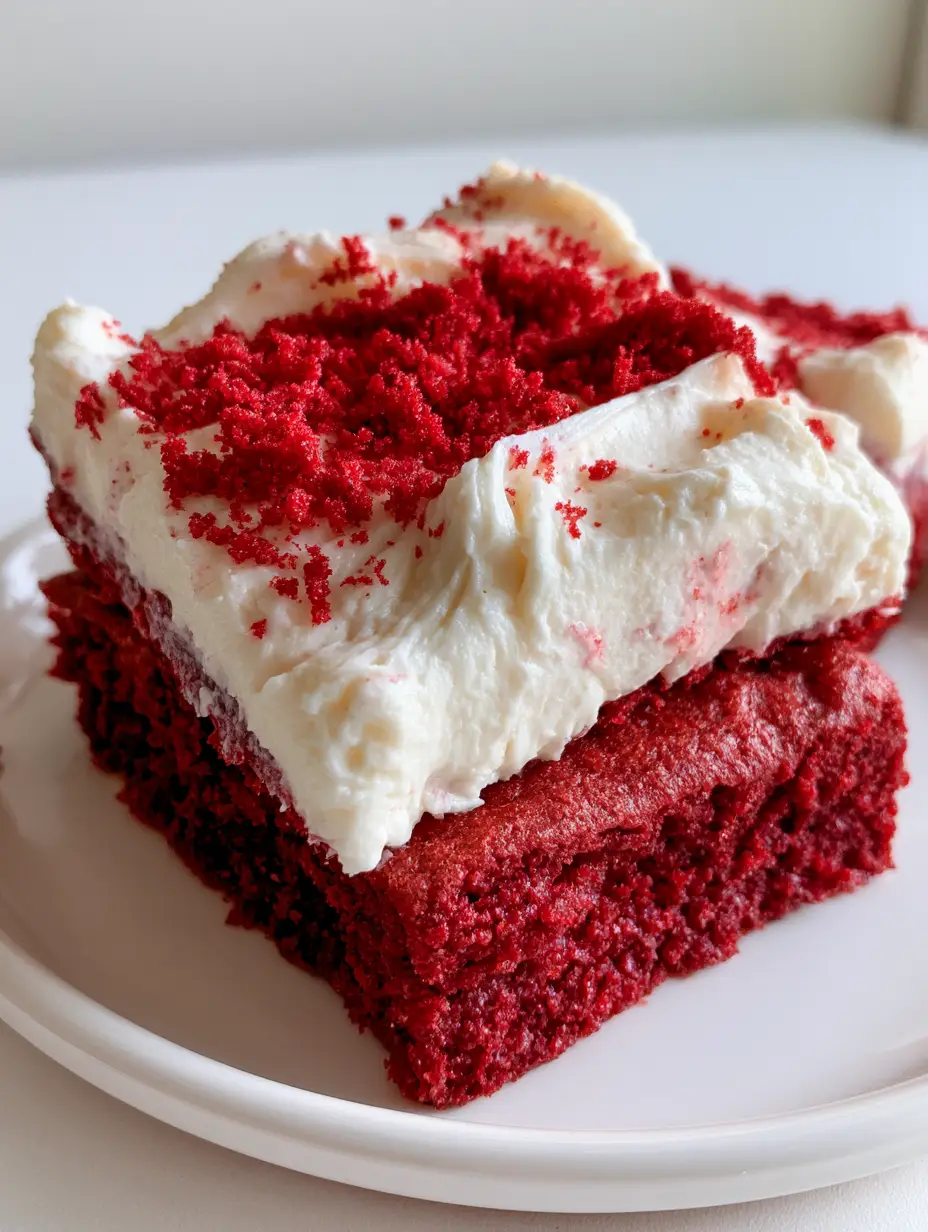
Red Velvet Cookie Bars: The Ultimate Thick and Chewy Recipe
Ingredients
Equipment
Method
- In a large bowl, cream together the softened butter and granulated sugar until light and fluffy. Add eggs, vanilla, vinegar, and red food coloring, mixing until the color is vibrant and consistent.
- Whisk together flour, cocoa powder, baking soda, and salt. Gradually add to the wet ingredients, mixing until just combined. Do not overmix.
- Press dough into a lined 9x13 pan. Bake at 350°F (175°C) for 20-25 minutes until the edges are set. Cool completely in the pan.
- Beat cream cheese and butter until smooth. Add powdered sugar and vanilla, whipping until stiff peaks form.
- Spread frosting over the cooled base, creating swirls and ridges. Top with a scattering of fine red cookie crumbs from the edges of the bars.
Notes
Flash freeze frosted bars before wrapping for long-term storage.
Share Your Creations with zoe_nourish!
We hope these Red Velvet Cookie Bars become a staple in your baking rotation! The combination of the thick sugar cookie base and that iconic cream cheese frosting is truly hard to beat. If you make this recipe, please save it to your Pinterest boards so you never lose it!
Don’t forget to follow zoe_nourish for more decadent dessert inspiration and viral-worthy recipes. We love seeing your results—take a photo of your rectangular bars on a white ceramic plate and share it in the comments below. Finally, if you loved this recipe, please leave us a 5-star rating in the recipe card above. Happy baking!